
cafe curtains
installation guide
#1
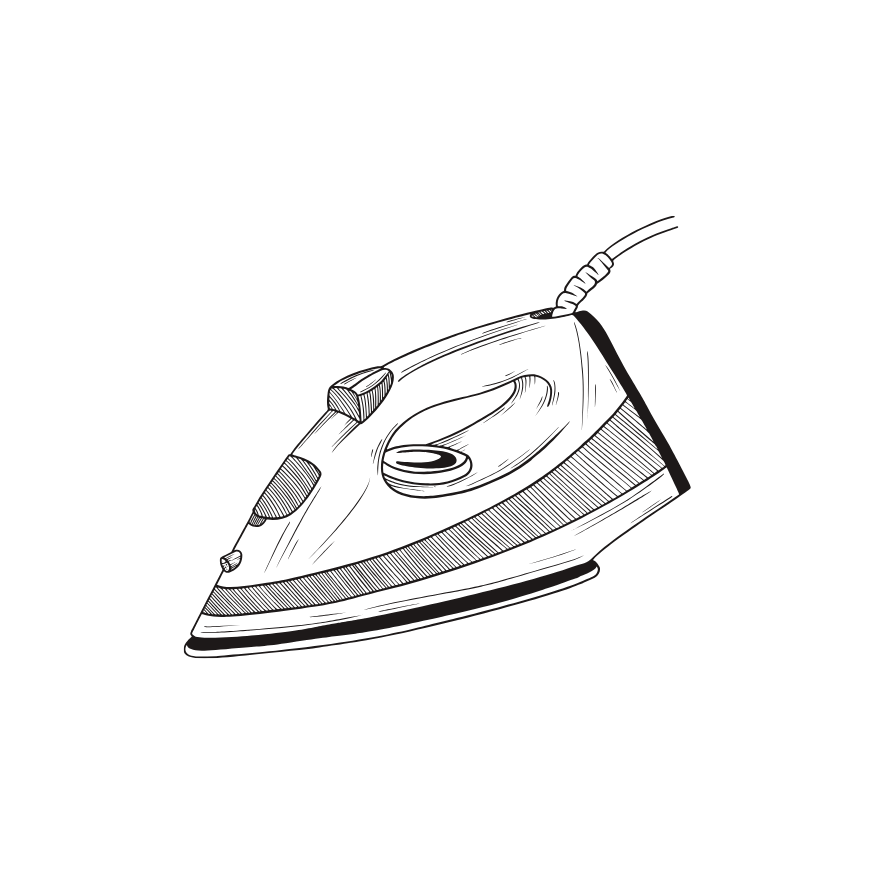
PRESS
This can be done pre installation, with a standard iron or post installation with a hand held steamer.
Pressing is essential in ensuring the best results aesthetically - we recommend using steam and a medium heat.
#2
Rod length
Face fit brackets - using a pencil, mark the centre point of each proposed bracket position (typically the mid point of each window jamb). The distance between these 2 points is your rod length.
Recess fit brackets - note the entire span of the recess, minus 2cm. This is your rod length.

#3
cut the rod
Brass is easy to cut using a simple hacksaw, any shop bought hacksaw will work (an angle grinder can also be used, if you're confident).
Measure twice, cut once - you can cut the rod twice, but you cannot put rod length back!
#4
Positioning
Position the bracket so that the centre of it sits over the pencil mark made earlier. Mark the holes of the bracket will be.
#5
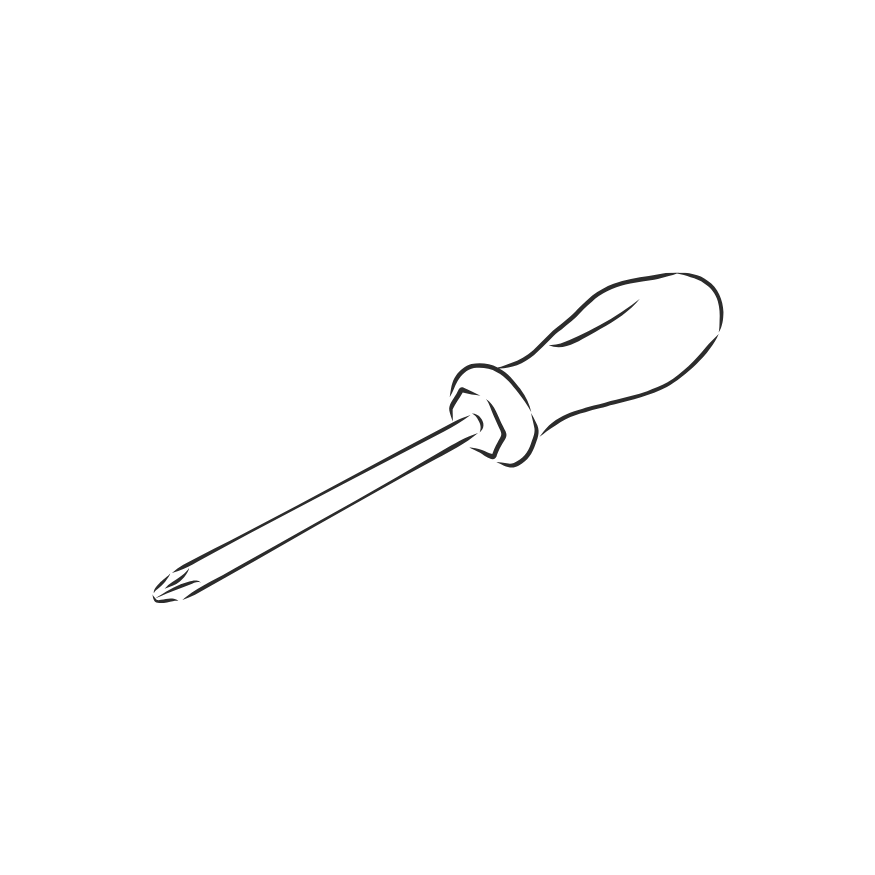
Fixing brackets
Install the first bracket as per the marks made - at this point install only the top screw & tighten down to 90% only.

#6
COMPLETE INSTALLATION
- Assemble the remaining cafe curtain & pole set.
- Slide the rod into the first bracket previously mounted on the window. Use your spirit level to ensure a level fitment.
-Once final position for second bracket has been determined, screw this bracket into place. We recommend you install top screws only, then review your work.
Once happy positioning is 100% correct, finish by installing bottom screws.